
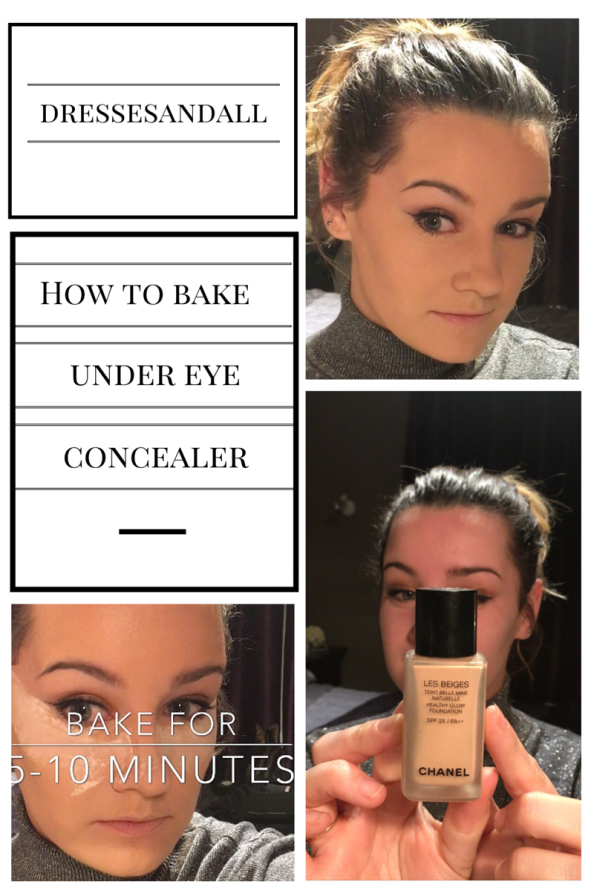
Hello! So disclaimer first! I am no expert/make-up artist (surprising, I know!) but I thought I’d share with you this very exciting technique I’ve been using to banish dark circles and generally look a little more alive!
Baking is a technique make-up artists have been using for years so this is more of an industry secret rather than something new. It’s a fairly simple to do and isn’t too different from normal foundation routine if you use it on a regular basis.
Let us begin…it’s very important that you hydrate your under eye first and foremost, without this step, you’ll look like you’ve aged a hundred years! I like to use the Simple age resisting under eye cream, it’s very light and soaks into the skin instantly. Obvious step, moisture the rest of your face too, I’m a massive fan of Simple products and this replenishing moisturiser is my ‘go to’!


You really don’t need to add this next step but adding a a primer always helps to smooth out any lines and this Garnier one reduces the visibility of pores, we do not wants those showing through! 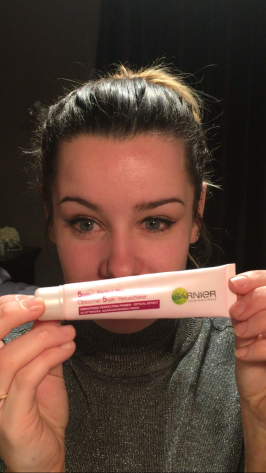
I then use a beauty blender to apply my foundation, the one I’m using at the moment is the Chanel Les Beige healthy glow in No. 20. I tend to mix this with a small amount of my normal Maybelline satin liquid just to add some colour, the Chanel foundations don’t have a lot of colours to chose from so I guess this makes it last longer too!


Nothing special happens here, I just apply foundation as normal, filling in all the nooks and crannies! I tend to do my eye make-up first just because it stops any shadow fall out on my cheeks, once I’ve baked my concealer, it’s difficult to get rid of that if it happens.
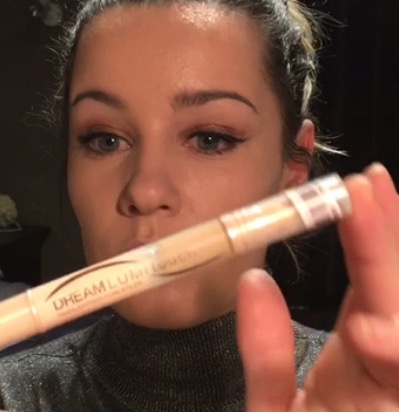
I forgot to take a picture of me applying concealer, good one Rach, this isn’t a tutorial all about concealer! Sorry about that! Here’s a picture that gives proof that I own it anyway!


Here’s the exciting and weird bit! You need a loose powder, I’ve used the Rimmel Match perfection one in translucent. With a damp-ish beauty blender, or clean foundation brush, you need to apply the powder liberally like there’s no tomorrow. Pack that sucker on the under eye, I also like to bring it across my check bones so my highlighter really ‘pops’!


And then we bake! 5 or 10 minutes is plenty of time, make sure you don’t sneeze or blind too fast creating a draft, it’ll get in your eyes and you’ll hate me forever! 5 minutes of looking like a complete lunatic is so worth it believe me!
And we are done!
Kidding! Using a fluffy powder brush, I used the real techniques expert face brush, at this point you can swirl you brush in a pressed powder, no pressure though, don’t swirl if you don’t want to swirl! The aim of the game is to get rid of the crazy look, just sweep the powder away and you should be left with beautiful, smooth like a babies butt, under eye area! You could set this will something like the Mac fix plus or the Urban Decay all nighter setting spray, I don’t tend to use them just because I don’t really feel I need it for everyday make-up.
It’s not a great video, this was my first attempt at filming and also editing, a whole 15 minutes down to just over a minute! I’m really nervous for you guys to see it so if you hate it tell me and I promise I’ll never do anything like that again! 🙂
I’d also love to hear if you’ve tried it, what products you used and how it turned out for you!
